I recently discovered a bead store just by my house, so I spent over an hour browsing everything they had! I found these awesome hook bookmarks and decided to have a “theme” for holiday gifts this year, and I decided it was as good a time as any to do a tutorial, so here we go!
Materials needed:
- 2 pairs of needle-nosed pliers
- 1 hook bookmark
- Twice as many jump rings as you want danglies; I had 2 danglies, so I used 4 jump rings
- Various beads
- 1 charm per dangly (I had 2)
- Stretchy plastic thread
- Scissors
- Solder & soldering iron (optional, but very useful)
First, a look at what the final project will look like

Completed project
To begin, open up all jump rings using both pairs of pliers

Open the jump rings
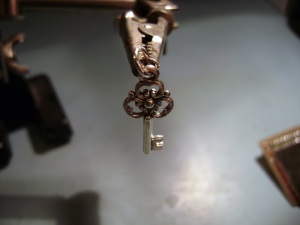
Next, slip your charms onto the opened ring, one per jump ring

Charm on jump ring
Then close the jump ring using both pliers, making sure the gap is as small as possible

Close jump ring
Close all other jump rings onto the hook as shown

Jump rings on hook
Next comes the soldering; this is optional, but I find it much easier than having to fix my bookmark if the plastic thread slips through the gap.
Heat your soldering iron to the correct temperature, this will depend on the content of your solder. Secure your charm/hook so that it’s less likely to move while you’re working with it

Secure charm
(Sorry, no pictures for this step, hard to solder and take pictures at the same time!) Once your solder is at the right temperature, heat the joint of the jump ring and melt your solder onto the ring, then smooth it out as much as possible. Repeat with all other jump rings.
Finally, you end up with something like this:

Soldering completed
Next, take your plastic thread and cut it to however long you want your danglies plus a couple inches; it’s always best to have a bit too much than to have to recut it. Tie your plastic thread securely to each charm’s jump ring, I use at least 4 normal knots

Tying the knot
Then, cut the little tail off but leave a millimeter or 2 left over for security, and you end up with this

All tied off
Next, add a bead that’s large enough to cover the knots, and bead in any pattern you like

Beading
Once you’re done beading, tie the plastic to the jump ring on the hook and tie secure knots just as before and cut the tails off. When you’re done, you should end up with something like these

Completed

Completed

Leave a comment